Construction - Low Rider 1.0 - Assembly
Step 1 - Set the floor
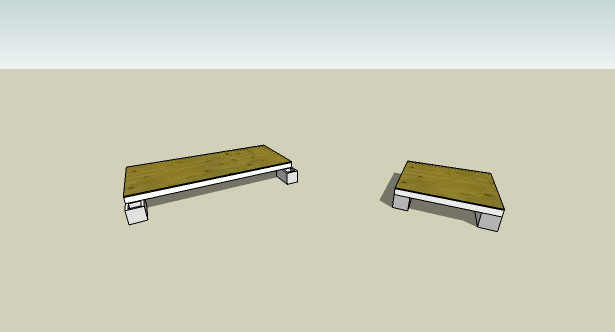
Put down the floor panel on cinder blocks. It's important to make sure that the floor is flat and level; a floor that's not flat will have problems when you try to put the roof on later.
Use a level to check for levelness. To check the floor for flatness, sight from corner to corner, or lay a long flat board from corner to corner. Diagonal gaps or bumps will indicate high or low corners.
The front of the living unit should let the cinder blocks extend halfway beyond the floor. The floor and porch will share these blocks.
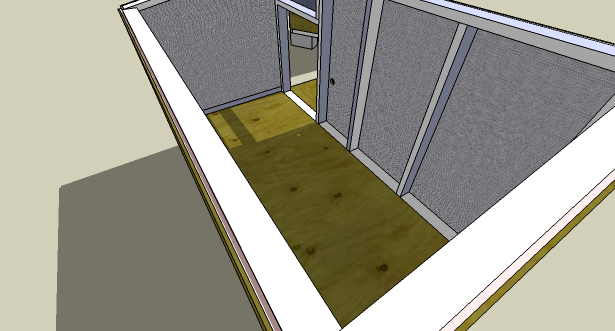
Step 2 - Put up the back wall and a side wall
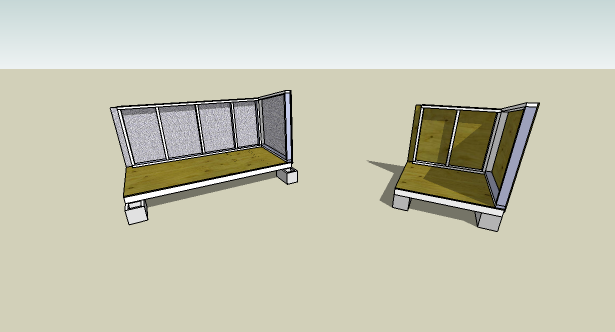
Put in the back wall and a side wall, sliding them up snugly against each other and against the floor. The flap of the rear panel should cover the rear stud of the side panel completely. Nail down the panels to the floor and to each other at the corner.
Step 3 - Put up the second side wall
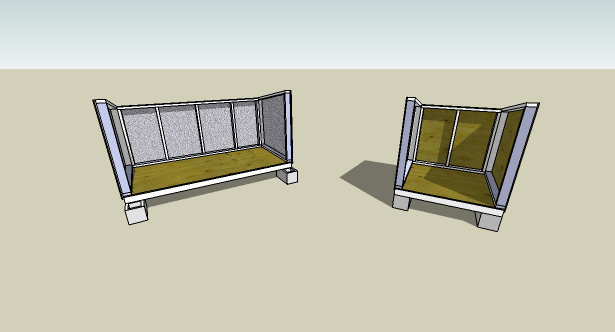
Put in the second side wall and attach it at the corner to the back panel, but do not nail the side panel down to the floor yet. This will allow you to swing it a little out of the way to install the front panel.
Step 4 - Put up the front wall, add porch
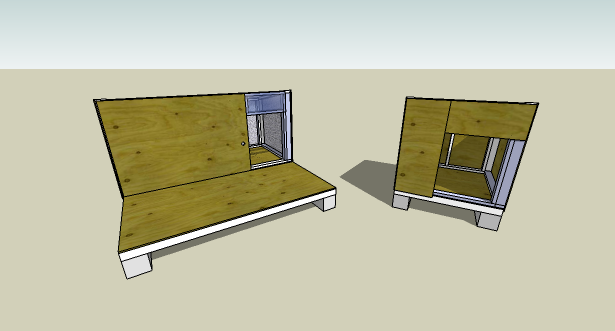
Slide the front wall into place, nail it down to the floor, and attach it to the side walls. Nail down the second side wall to the floor.
After you've added the fourth wall, you can add the porch, although you may want to hold off if you haven't painted yet. However, having the porch in place makes working with the roof much easier.
Step 5 - install the floor insulation in the living unit
Drop in both layers of the asphalt impregnated sheathing and top with the floor covering. Nail it down. This not only insulates the floor, but it also brings the floor up to the level of the bottom plate doorway stud.
Steps 6, 7, 8 - installing the roof
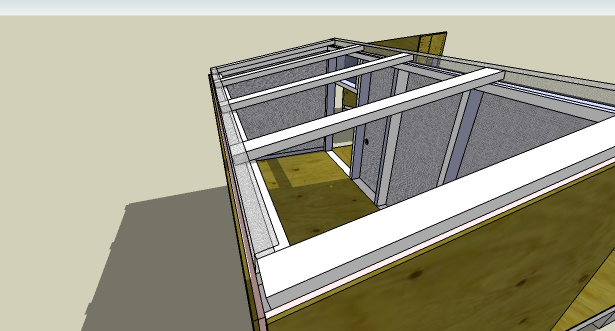
Tack down the strips of bug screen on top of the front and rear panels of the living unit on one side, keeping the other side loose and outside of the structure. Put the 48" 'rafter' studs across the top of the structure and on top of the bug screen, spacing them every 24 inches. The rafters on the ends should sit squarely on the tops of the side panels. At this stage, tacked down the rafters with 8d nails to hold them in place. The next step will secure them more firmly.

Drop the 5/8" roof plywood on top of the rafters and screw the whole assembly down, rafters and all, to the tops of the wall panels. We specify screws instead of nails for this step because the ventilation openings make it handy for a thief to lever off the roof of the living unit otherwise.
Wrap the bug screen over the rafters and on top of the plywood, and tack down.
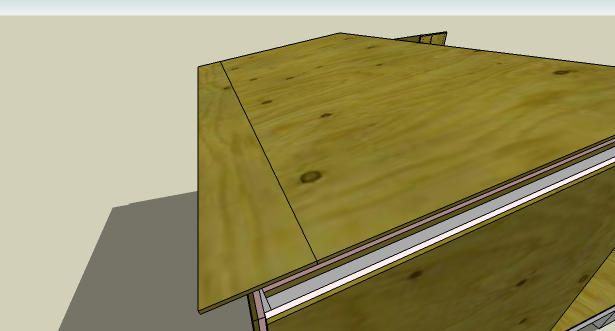
Put the insulation on top of the 5/8" plywood, and cover with the 3/8" plywood and the roof cantilever. The cantilever should be placed on the rear of the living unit, since folks tend to lean on the front of the roof more than the back.
Installing the roof on the storage unit is substantially easier. Just put a sheet of 5/8" plywood on top of the wall panels and screw or nail down. Cantilevering it out by adding a strip of plywood on the back is a nice touch, but not strictly necessary.
Step 9 - Add roofing, install doors.
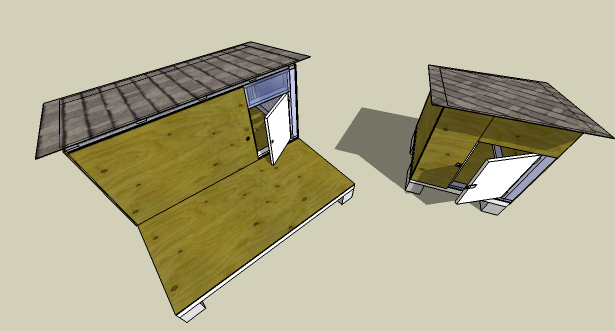
Install the roll roofing. A single roll of roll roofing provides two 10' strips for the living unit and two 5' strips for the storage unit.
Hang the doors; they should swing outward, and hang from the outer edges of their respective front panels. Once they're hung, mark on the interior of the door openings where to doors naturally rest when they're closed, and attach 2x4 stud along the inside to prevent people from kicking a door inwards.
